Getting started with Python#
Learning objectives
By the end of this lab, you will be able to:
Check if Python is installed and install it if needed
Use the command line interface (shell) to run Python
Install and configure Visual Studio Code for Python development
Write and run your first Python script
Install Python libraries using pip
Experiment with basic Python commands interactively
Part 1: Check and install Python#
What is the shell?#
The shell (also called command-line interface or CLI) is a text-based interface for interacting with your operating system. Different operating systems have different shells:
Windows: PowerShell
macOS: Terminal
Linux: Terminal or Konsole
Why use the shell?
The shell allows you to install software, run programs, navigate files, and execute Python code directly. It’s an essential tool for programming.
Opening the shell#
Open the Windows menu
Type “powershell” in the search bar
Select Windows PowerShell
Press
Cmd + Spaceto open SpotlightType “terminal”
Press Enter
Press
Ctrl + Alt + T(shortcut)Or search for “terminal” in the applications menu
Check if Python is installed#
Type the following command in your shell and press Enter:
python3 --version
If Python 3 is installed, you’ll see output like:
Python 3.11.5
If you see an error or Python 2.x, you need to install Python 3.
Installing Python#
Go to python.org/downloads
Click the download button for the latest Python 3 version
Run the installer
Important: Check “Add Python to PATH”
Click “Install Now”
Verify installation:
python --versionin PowerShell
Go to python.org/downloads
Download the macOS installer
Run the .pkg file and follow the instructions
Verify installation:
python3 --versionin Terminal
Run these commands in the terminal:
sudo apt-get update
sudo apt-get install python3 python3-pip
Verify: python3 --version
Part 2: Visual Studio Code setup#
Visual Studio Code (VS Code) is a popular code editor that makes Python development easier with features like syntax highlighting, auto-completion, and debugging.
Installing VS Code#
Go to code.visualstudio.com
Download the version for your operating system
Install following the default options
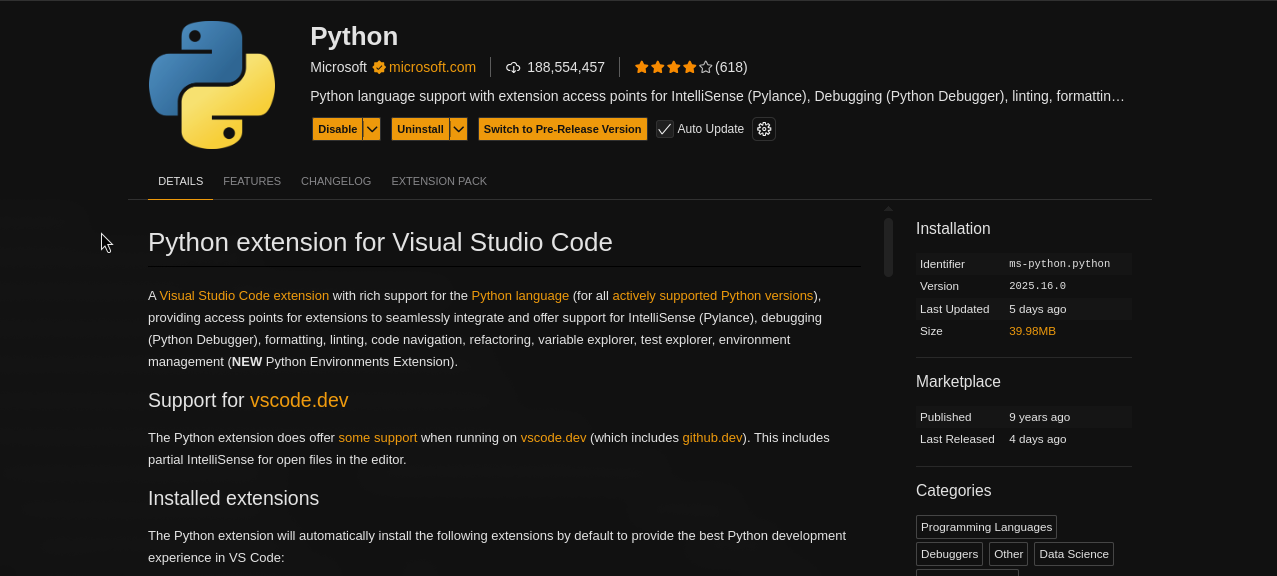
Installing the Python extension#
Open VS Code
Click the Extensions icon on the left sidebar (or press
Ctrl+Shift+X/Cmd+Shift+X)Search for “Python”
Install the extension published by Microsoft
Your first Python script#
Working with folders (important!)
In programming, it’s essential to organize your work in folders (also called directories). This helps you:
Keep your files organized
Manage projects more easily
Prepare for version control with Git/GitHub
Follow professional development practices
Always open VS Code in a folder, not just individual files!
Step 1: Create a dedicated folder for your Python work#
Choose a location on your computer (I recommend Documents or Desktop) and create a folder:
Suggested folder name: python_laboratory or python_exercises
Open File Explorer
Navigate to Documents (or Desktop)
Right-click → New → Folder
Name it
python_laboratory
Open Finder
Navigate to Documents (or Desktop)
Right-click → New Folder
Name it
python_laboratory
Open Files
Navigate to Documents (or Desktop)
Right-click → New Folder
Name it
python_laboratory
One folder per project
You will use this folder for all the exercises in this first lab. As the course progresses, I recommend creating a separate folder for each lab or project (e.g. lab-01, lab-02, etc.). Keeping different projects in different folders avoids mixing files and, later on, allows each project to have its own isolated Python environment with only the packages it needs.
Step 2: Open the folder in VS Code#
Open VS Code
Select File → Open Folder… (or File → Open… on macOS)
Navigate to your
python_laboratoryfolder and select itClick Select Folder (or Open)
You should now see your folder name in the sidebar (Explorer panel).
Step 3: Create your first Python file#
In VS Code, look at the left sidebar and make sure the Explorer tab is selected (folder icon)
You should see your
python_laboratoryfolder name at the topClick on the New File… icon (it looks like a page with a plus sign, near the folder name)
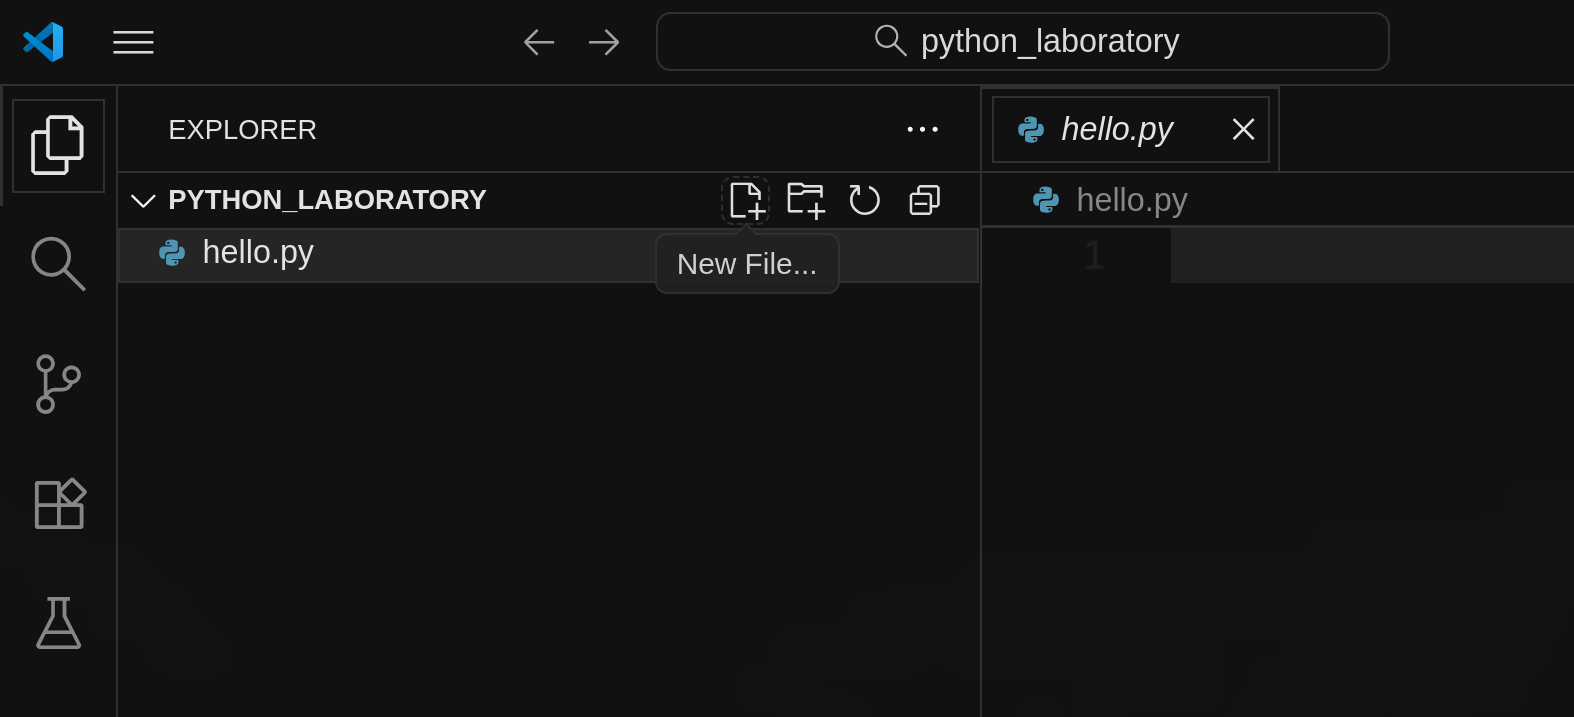
Type
hello.pyas the filename and press Enter
VS Code will create the file and open it in the editor.
Step 4: Write and run your code#
In the
hello.pyfile, write this code:
print("Hello, World!")
Look at the top-right corner of the editor window
Click the Play button (▶) with the tooltip “Run Python File”
You should see this output in the terminal at the bottom:
Hello, World!
Part 3: Interactive Python basics#
Python interactive mode#
You can use Python like a calculator by running it in interactive mode. Type python3 (or python on Windows) in your shell:
python3
You’ll see the Python prompt:
>>>
Now you can type Python commands and see immediate results!
Interactive code blocks
The code blocks below are executable! You can run them directly in your browser:
Click the rocket icon in the top-right corner of the page
Select Live Code
Click Restart to initialize the kernel
Wait for the kernel to start (this may take a few moments)
Click Run on any code block to execute it
This feature uses Thebe to connect to a live Python kernel, allowing you to experiment with the code without leaving your browser!
Try it: Basic arithmetic#
# Addition
print(5 + 3)
8
# Multiplication
print(7 * 6)
42
# Division
print(20 / 4)
5.0
# Exponentiation
print(2 ** 8)
256
Variables#
Variables store data that you can reuse:
# Create a variable
paradox = "Zeno's paradox"
print(paradox)
Zeno's paradox
# Variables with numbers
distance = 100
print(distance)
100
More on variables
In Lab 02, you’ll learn about variable naming rules, data types, operators, and much more!
The print() Function#
The print() function displays output to the screen:
print("You can print text")
print(42)
print("You can print", "multiple", "things", "separated", "by", "commas")
You can print text
42
You can print multiple things separated by commas
# Print with variables
name = "Descartes"
school = "Rationalism"
print(name, "belongs to", school)
Descartes belongs to Rationalism
Part 4: Installing Python libraries#
What are libraries?#
Libraries (also called packages or modules) are collections of pre-written code that extend Python’s capabilities. Some libraries are built-in (like math), while others need to be installed.
Using pip#
pip is Python’s package manager. Use pip3 on macOS/Linux, or pip on Windows.
Check if pip is installed:
pip3 --version
Installing a library#
Let’s install python-dateutil, a library for working with dates.
pip3 install python-dateutil
Now you can use it to parse and work with dates:
from dateutil import parser

# Parse dates written in natural language
date1 = parser.parse("15 March 1789")
date2 = parser.parse("October 31, 1517")
date3 = parser.parse("1776-07-04")

print("French Revolution (Estates-General):", date1)
print("95 Theses:", date2)
print("American Independence:", date3)
French Revolution (Estates-General): 1789-03-15 00:00:00
95 Theses: 1517-10-31 00:00:00
American Independence: 1776-07-04 00:00:00
Part 5: Hands-on exercise#
Philosophical works timeline#
Create a Python script that stores information about famous philosophical works and uses python-dateutil to work with their publication dates.
Requirements:
Create variables for: work title, philosopher name, and publication date
Use
python-dateutilto parse the datePrint the information in a nice format
Example output:
=== Philosophical Work ===
Title: Critique of Pure Reason
Philosopher: Immanuel Kant
Published: 1781-05-01 00:00:00
# Write your code here:
Solution
from dateutil import parser

# Work information
title = "Critique of Pure Reason"
philosopher = "Immanuel Kant"
publication_date = parser.parse("May 1, 1781")

# Display information
print("=== Philosophical Work ===")
print(f"Title: {title}")
print(f"Philosopher: {philosopher}")
print(f"Published: {publication_date}")
Challenge extension#
Modify your script to:
Add a second philosophical work with a different date format
Print both works
Calculate how many years passed between the two publications
Challenge solution
from dateutil import parser

# First work
title1 = "Critique of Pure Reason"
philosopher1 = "Immanuel Kant"
date1 = parser.parse("May 1, 1781")

# Second work
title2 = "Beyond Good and Evil"
philosopher2 = "Friedrich Nietzsche"
date2 = parser.parse("1886-01-01")

# Display both works
print("=== First Work ===")
print(f"Title: {title1}")
print(f"Philosopher: {philosopher1}")
print(f"Published: {date1}")

print("\n=== Second Work ===")
print(f"Title: {title2}")
print(f"Philosopher: {philosopher2}")
print(f"Published: {date2}")

# Calculate years between publications
years_difference = date2.year - date1.year
print(f"\n{years_difference} years passed between the two publications")
Summary#
In this lab, you learned how to:
Install and verify Python
Use the command line shell
Set up VS Code for Python development
Write and run Python scripts
Use variables, strings, and basic data types
Install libraries with pip
Create a simple Python program
Next lab
In Lab 02, you’ll dive deeper into Python basics: operators, data type conversions, and more advanced string operations. See you there!